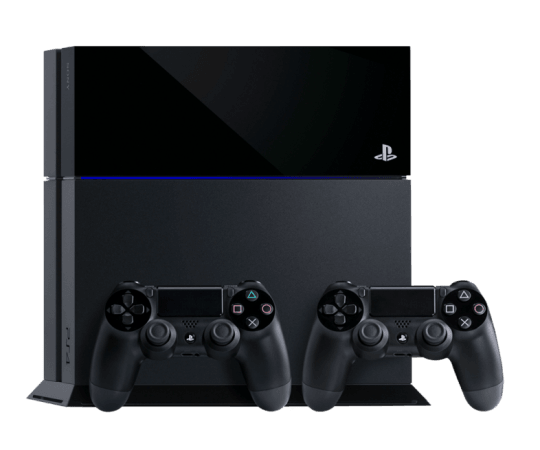
From whatever we have seen via the next generation of console gaming so far, it has to be said that the possibilities are endless, as far as achieving more is concerned. Nonetheless, it has been a brilliant start and riding on multiple exclusives to their names, both Sony and Microsoft have made themselves comfortable in the market.
Keeping to the Sony side of things, for the time being, the previously released PlayStation 4 has already found its way to thousands of gaming fans across the planet. Sure the entire Xbox One-PlayStation 4 rivalry is now fully underway, but on an overall, it has done a world of good to the entire gaming fraternity.
As like its predecessors, the new PlayStation 4 comes with almost enough space on his hard drive for fans to store game and other content. The console comes with a 5,400 RPM, 500GB hard drive to be precise. And although it may look more than enough to the casual gamer, for the more serious ones however, 500GB may not be enough.

Luckily, Sony has made it possible for gamers to easily swap out the usual factory drive for a bigger and faster one. And it doesn't even require you to break into sweat. Here are the steps to upgrade the hard drive on your PlayStation 4.
Step 1
First, you will need to remove the front panel of the console. Locate the shiny and polished panel that should be at the top of the PS4. To remove it, apply gentle downward pressure to the panel and move it away from the console. There should be a 'click' noise accompanied that will indicate that the panel is now out of its place.
Step 2
There will be screws that attach the console to its bay. This is basically a Philips head screw that will have the PS logo on top of it. You just have to remove this screw. There will be other Torx screws around the bay, but you need not mess around with those.
Step 3
Now remove the existing drive by pulling it out of its bay. Here, you will have to remove any and all the head screws attaching the old drive to the enclosure. From there, just remove the old drive from the enclosure, while taking care of the screws that attach the hard drive.

Step 4
Once that's out of the way, attach the new hard drive to the enclosure with the help of the same screws that held the old drive. And while you are at it, note that the PS4 has been made to support any SATAII drive with no greater thickness than 9.5mm. Also, it should be at least a 160GB capacity one.
Step 5
This is where you fit the hard drive back into your system. Just slide the drive into the bay on the side of your console. Make sure that the screw holes (on the enclosure) and the hard drive bay are in place to avoid any kind of disruption.

Step 6
Now you will need to put back the main screw. This will be the large, round Philip headscrew that you previously removed. Make sure the headscrew is aligned well into the holes and screw it back tightly.
Step 7
Next, you will need to replace the shiny black panel on top of the console. Lay down the panel over the hardware (just a couple of inches from the ridge), and slide it towards the closure until you hear the 'click' sound once more.
Step 8
Here, you will need to install the firmware. To make sure your new hard drive is working well with the console, you will have to install the firmware. We recommend that you carry out the procedure with a USB memory drive.


