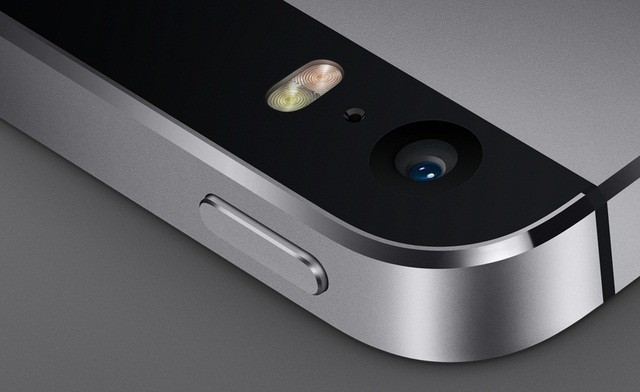
After the release of latest iOS 7 by Apple, a considerable amount of storage space has been cut down, leaving the users compromising for lesser space for videos, photos and other accessible data.
Following is the step-by-step guide for the Apple users on how to create a backup of their photos and make some free storage space by deleting them from the devices.
Backups
Backups can be done in three ways. A user can create a backup with the help of iTunes or by manually importing data to the PC system or via Google Plus app or some third party app.
Backup using iTunes:
-Connect the device to the PC system via USB cable and open iTunes (Usually open automatically).
-When iTunes shows your device on the left side bar, click on the device.
-Click Backup Now and the entire device's info will be copied to the computer.
Manual Backup (of photos):
-Connect the device to the PC system via USB cable.
-Mac users can go to Applications > Image capture. Windows users can go to File Explorer > Computer > right click the iPhone > Import photos.
-Follow the onscreen prompts shown on Mac or Windows using the appropriate programme. Save photos to any folder.
Google Plus App:
The Google Plus application can act as a cloud storage system where all the photos can be backed up in a folder with the help of Auto backup feature, which will not be visible to anyone else, unless the user shares it. However, photos will be backed up in 2048pixel resolution and not the full resolution. For full resolution, the user would have to buy more storage space.
-Open Settings and connect to Wi-Fi.
-Open the app store on iPhone and install Google Plus from Google, Inc. (if not installed already)
-Open Google Plus > follow the on-screen prompts and turn on Auto-Backup.
DropBox/Bitcasa:
The positive and the negative aspect of using DropBox is that, like Google Plus, it will automatically create a backup of the photos from the device and in full resolution but is not free. It starts at $8.25/month for 100GB storage.
Bitcasa is a new comer as compared to DropBox. The application has the auto-backup feature and will upload the photos in full resolution. The application is not free and gives the user unlimited storage for $10/month or $100/year.
-Search and install any of the two apps mentioned above from the app store to the device.
-Open the application after installation and follow the prompts.
-After signing in, turn on the Auto backup feature.
Creating Space by Deleting Photos
After creating a backup of all the photos from the device via any of the methods mentioned above, one can simply delete the photos from the device in order to create some storage space.
iOS 6 users:
-Settings > General > Usage > Photos & Camera.
-Swipe across the Camera roll and delete them.
-After deleting the Camera Roll, the user would have to delete the Photo Stream.
Photo stream keeps the latest 1,000 images taken from the device and keeps then in the shareable feed, which is unnecessary.
-Go to Settings > iCloud > Turn off Photo Stream.
iOS 7 users:
-Select photos > tap on albums in bottom right corner.
-Tap on Select in the top right corner > select the photos you want to delete > tap the bin placed in the bottom right corner.
-Go to Settings > Photos and Camera > Turn off My Photo Stream.
The following process can create a little more space for the users to avoid the full memory situation at times.
[Note: The above mentioned steps are not guaranteed to work exactly as stated. International Business Times would not be responsible for any loss of data from the device while implementing the steps. For details, users can question The Unlockr website or can see for more details here.]


!['Had denied Housefull franchise as they wanted me to wear a bikini': Tia Bajpai on turning down bold scripts [Exclusive]](https://data1.ibtimes.co.in/en/full/806605/had-denied-housefull-franchise-they-wanted-me-wear-bikini-tia-bajpai-turning-down-bold.png?w=220&h=138)


