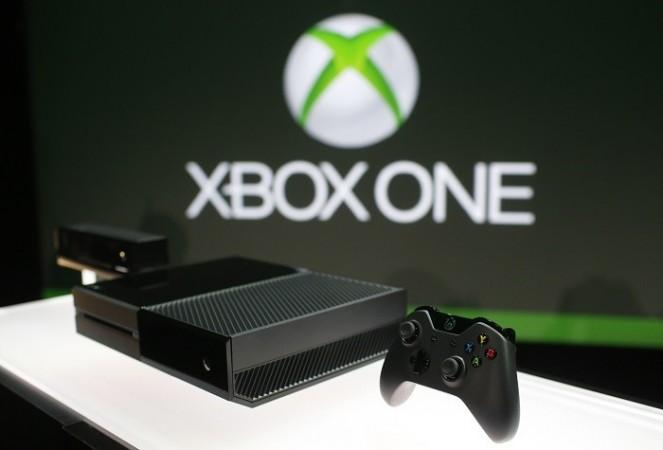
Microsoft's Xbox One didn't really have a steady start to life. From the day of reveal, it has remained afflicted, thanks to a few over-the-top decisions from the management over at Redmond. However, needless to say, the console has since moved ahead and has already made its way to a number of fans across the planet.
With the console already a part of our lives, we have seen a number of big-name releases to go with the console, most of which are exclusives. The year 2014 has been filled with big releases, and although the Xbox One may not boast that many exclusives compared to PS4, but it still has given fans something to cheer about.
Going ahead, more new titles are set to arrive on the console. And while we just can't wait to play all of them, it is evident that some time down the line we will run out of space on our consoles. And running out of space on the console midway in a game is nothing less than nightmare for the average gamer.

But, who says storing content is only limited to the console's hard drive. In fact, if you are looking for a hassle free experience in terms of save space, you can easily store all your content on the lines of the cloud data platform. Or maybe, you can also conduct the transfer process manually using another drive. Here, we will talk about the steps to solve spacing problem using both the methods.
Method A: Transferring Saved Content To Another Device
Step 1
First, turn on your console and head over to the Settings option on your Xbox One. Just select 'System' followed by 'Storage'
Step 2
Now, head over to 'Device Options.' Once there, highlight the storage device that has the content you want to transfer, and then press Y to access the device options.
Step 3
When you are inside device options, select 'Transfer Content' and then choose the storage device that you would like to transfer the saved content to. Note that, it can be any device of your choice. It just needs to have a bit of space inside to hold whatever you are looking to transfer.
Step 4
Considering the fact that you have followed the above three steps as mentioned, you should now be ready to transfer the selected content on to your preferred device. Accordingly, select the content you would like to transfer and then select start to begin the transfer.
NOTE: If you see the 'Space Available' bar becoming red, it probably means that you will have to check and snip the content you are transferring since there's not much space.

Method B: Transferring Saved Content To Cloud
Step 1
In order to make use of this method, you will need to make sure that you are logged into Xbox Live. As long as you are online, you can rest assured that all your content will be saved automatically. And if you are looking to access that content from a different console, first power it on.
Step 2
Next, you will need to log into your Xbox Live profile. In order to log in, head over to the sign-in option that you should find on the upper left corner of the home screen. Once there, you will need to select the 'Add New' option and log-in with the registered mail account and password.
Step 3
Here on, it's respectively easy. Just select and launch the game you want to play. And as far as your in-game progression is concerned, the game will detect and pick up the saved content from the last game data.


