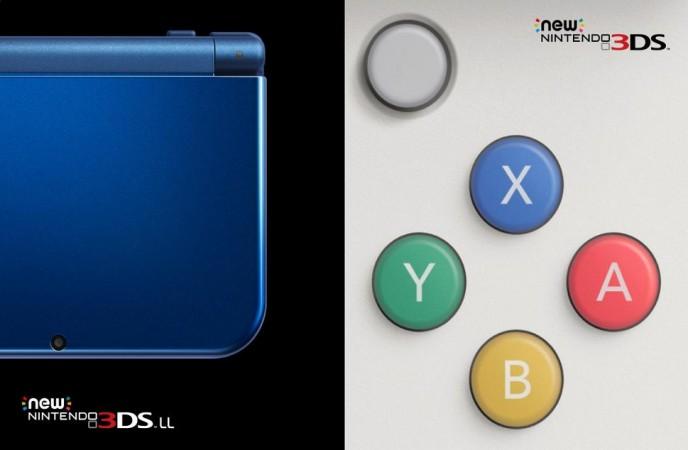
Many Nintendo handheld owners would have been waiting for the arrival of the company's latest console, the new Nintendo 3DS XL. It will start rolling out in the US and Europe from 13 February.
The console was made available in Japan in October 2014. The US will however be getting only the XL model and not the new Nintendo 3DS.
Some of the games titled that will be in the game include, The Legend of Zelda: Majora's Mask, and Monster Hunter 4 Ultimate.
Many users of the new Nintendo 3DS XL will be owners of the older console. With not many first time users, they will be upgrading to the new console. A guide is needed on how to transfer their data from the old ones to the new handheld console.
Below are some of the important steps from Attack of the Fanboy that will help transfer old data to the new Nintendo 3DS XL.
Owners of the older console will need the below-mentioned accessories:
- Your current Nintendo 3DS family system + SD card
- Your New Nintendo 3DS XL + microSD card of equal or greater capacity than your current SD card. A 4GB card comes pre-installed in the New Nintendo 3DS XL system.
- A size #0 Phillips screwdriver
- A computer and an adapter to connect SD and microSD cards
- Wireless broadband internet access
Once owners have the above items, they can follow the steps listed below to transfer the data:
- Complete the initial setup for your New Nintendo 3DS XL and update to the latest system software. Do not create a Nintendo Network ID on your new system.
- On the home menu, select System Settings, Other Settings and then select System Transfer.
- On both systems select Transfer from a System in the Nintendo 3DS Family.
- Select Send from This System on your current system and select Receive from Nintendo 3DS on your New Nintendo 3DS XL.
- Follow the prompts to confirm the transfer to the target system.
- Select Delete to erase the content on the microSD card in the target system in preparation for the transfer.
- Select No on the target system to confirm no other microSD cards have been used on the system.
- Select Yes on the source system to confirm you are using an SD card in your current system.
- Select PC-Based Transfer to use a computer to complete the transfer. You can choose the ? buttons to learn about the other methods of transfer.
- Select Move on the source system to start the transfer process.
- Once the transfer is complete the source system will format and your New Nintendo 3DS XL will restart.
- Power off both systems and remove the SD and microSD cards.
- To remove the microSD card from the New Nintendo 3DS XL you will need a #0 Phillips screwdriver to remove the back panel.
- Connect the SD card from the source system to your computer and copy the folder named Nintendo 3DS to your computer's desktop.
- Connect your microSD card to your computer and copy the Nintendo 3DS folder to the microSD card.
- If you have purchased a larger capacity microSD card, transfer your data to that card.
- Once the data has finished copying, insert the microSD card into your New Nintendo 3DS XL, attach the back panel and power your system on.
- The system transfer is now complete. Enjoy using your New Nintendo 3DS XL!
Below is a video shared by Nintendo reagarding the transfer guide:
(YouTube Courtesy: Nintendo)


