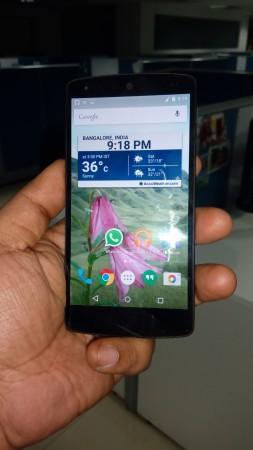
Android has just launched their latest update 5.1 Lollipop with a bunch of useful features including multiple SIM card support, enhanced device protection, improved priority mode, easier connectivity, new icons and a lot more. But like every other update it has own drawbacks too. For example, the performance and stability issue with some smartphones. However, the major glitch spotted till now is the WiFi connectivity issue of most Lollipop updated devices.
Several users are complaining there is a major flaw in WiFi connectivity with an internet connection. The recent 5.1 Lollipop update has solved the problem to many devices but the problem is still poking Nexus 4 and Nexus 5 users.
If you count yourself among those mentioned above, follow the below instructions to fix it out.
Restart your Android Smartphone and WiFi Router
Rebooting can fix the glitch sometimes as all the existing drivers get stopped and start it when device turns on. Restarting the WiFi router sometimes helps out either.
Switch to Another band
Majority of the WiFi router features multiple bands for connection. Similarly Android devices too, use different bands for connecting to the router. Check if you're using the 2.4GHz WiFi frequency band, if yes, switch to 5GHz band, which may fix the problem and also help your device boosting the connection speed. The menu can be found inside Settings>>WiFi>>Advanced >>Wi-Fi Frequency Band.
Reconnect the Device
This tips might sound a tad old school, but very effective in use. It fixes most of the connectivity glitch including Bluetooth ones. Please remove the Wi-Fi network from your phone and then reconnect it again. To delete the existing network, go to Settings>>Wi-Fi and tap the network name, once the option appears choose 'Forget'.
Following this, switch off the router and turn it on after 10 seconds or so, then try reconnecting.
Modify DNS
Tweaking the DNS might solve the issue. Go to Settings>>Wi-Fi and turn on the Wi-Fi. If the network is known, 'forget' it and then connect it back. Once the password window pops up, click on 'Advanced options' and select 'Static' from the IP settings drop-down menu. Then scroll down and enter the IP address of the DNS server you would like to use in DNS1 and DNS2 box. Now enter your Wi-Fi password and connect it.
Factory Reset
If none of the above told method works for you, try a factory reset of your Android device. If the problem still exists, it might be a hardware issue and need to fix up through authorised service centres. Or you can root your device with a custom kernel which can promptly solve the issue.
[Source: AndroidBeat]


